Features
Part of Headshots and presentation: the neckline, jacket and tone
Affordable headshots and presentation: free DIY basics
Affordable headshots and presentation for free: window light, phone framing, on-camera workwear and the terms to settle before a paid session.
Affordable headshots and presentation start with one fact: most professional headshots are viewed at about the size of a postage stamp, in a circle, on a phone. That single fact should govern every decision about making one, and it almost never does. People optimize for how the image looks at full size on a laptop, then use it somewhere it is rendered at a fortieth of that area.
What to take away
- The picture will be small. Only three things survive at small size: the shape of your head against the background, the tone of what you are wearing, and whether the eyes are lit.
- Light is free and does more than equipment. A window, a wall and a phone will beat a bad studio.
- A room and a camera are different audiences. What reads as quiet and appropriate in person can read as flat or noisy on a lens, and the reverse.
Design for the small version
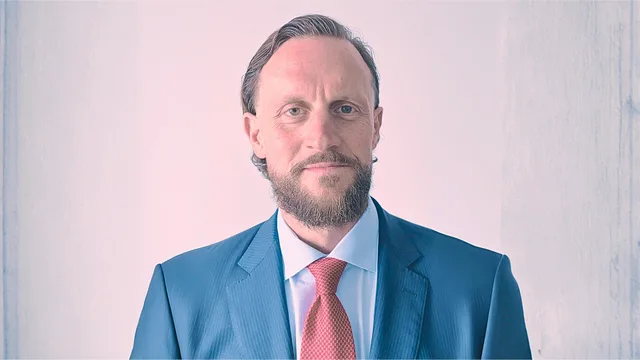
Open any profile page and look at how the image is actually displayed. It is usually a small circle, cropped tighter than the original, next to text. At that size the viewer perceives a silhouette, a tone and an expression. Everything else is gone.
Small-size headshot brief
- Separate yourself from the background
- Get light into the eyes
- Frame with room to crop
Separate yourself from the background. If your hair, clothing and background are all similar in tone, the shape dissolves and the image reads as a smudge. A difference in brightness between you and what is behind you is what makes the picture legible at small size, and it costs nothing to arrange.
Get light into the eyes. At small size, lit eyes are the difference between a person and a shape. This is what a photographer is doing when they move you around: they are putting a light source where it reflects in your eyes.
Frame with room to crop. Every platform crops differently, and several will crop square or circular from a rectangle. Leave space around the head so that no crop cuts through it.
Doing it yourself, properly
You need a window, a wall a few feet behind you, a phone and one other person. The order matters more than the equipment.
- Face the window, at an angle.Turn so the light comes from roughly forty five degrees rather than straight on. Straight on is flat; from the side is dramatic and unflattering at small size.
- Stand well away from the wall.A few feet of separation lets the background go slightly soft and stops your shadow landing on it. A shadow directly behind the head is the most common self-taken headshot fault.
- Put the camera at eye level.Above looks like an apology, below looks like a monument. Eye level looks like a person.
- Have the photographer step back and zoom in.Distance is the variable, not the lens. A camera close to a face exaggerates whatever is nearest to it. From further away with the frame tightened, proportions look normal.
- Take many, and choose later.Expression is the hardest variable and the only one that needs volume.
Nothing on that list costs anything, and the cleanup can be free too. Snapseed and Photopea crop to a square or a circle, lift a shadow and take out a stray mark, and Canva's free tier resizes one frame for a profile circle and a company directory. On the phone, switch on the grid so the eyes sit on the upper third, and use portrait or depth mode for a soft background only if the edges of your hair survive it. Do not reshape a face — at small size a softened outline reads as false.
Overcast daylight is the easiest light there is. Direct sun is the hardest. If the only option is a dark room, put a lamp behind the camera rather than beside you.
What the lens does to fabric
A camera does not see cloth the way a room does, and the differences are specific enough to plan around.
Fabric on camera: avoid vs favor
Avoid
- Shine
- Glossy, bright patch
- Pattern
- Tight checks, narrow stripes
- White
- Pure white clips
- Black
- Pure black, no texture
- Shape
- Loose, draping
Favor
- Shine
- Matte near face
- Pattern
- Larger patterns
- White
- Off-white, mid tone
- Black
- Dark tone with texture
- Shape
- Defined shoulder edges
| Property | What happens on camera | What to do |
|---|---|---|
| Shine | Reflects the light source as a bright patch that pulls the eye | Prefer matte surfaces near the face |
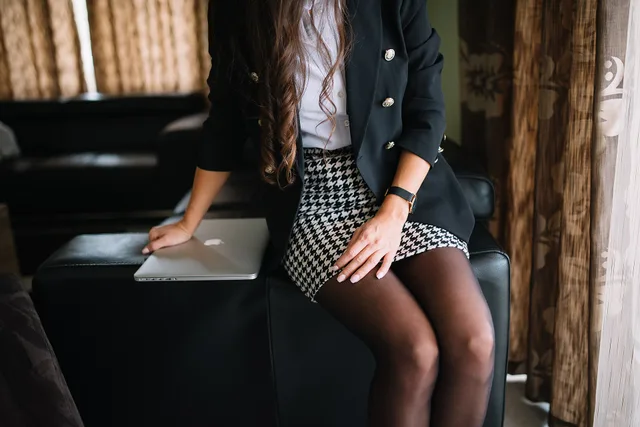
| Fine repeating pattern | Can interfere with the sensor grid and shimmer, which cannot be fixed later | Avoid tight checks and narrow stripes; larger patterns are safe |
| Pure white | Clips to featureless white and drags the exposure down, darkening the face | Use an off-white or a mid tone |
| Pure black | Loses all texture and reads as a hole | Use a dark tone with some texture in it |
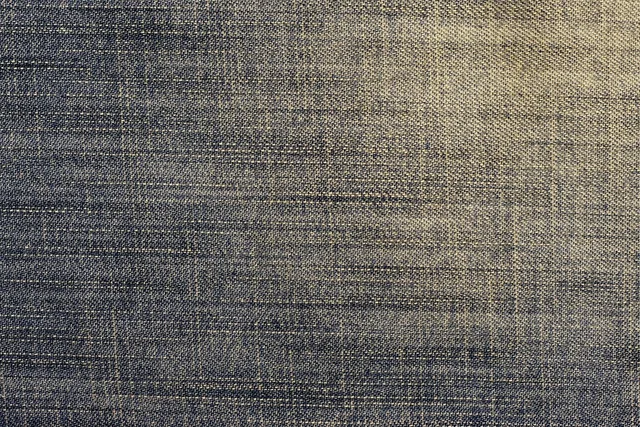
| Texture and weave | Reads well, gives the image depth | Favor cloth with visible surface |
| Loose or draping shapes | Read as larger and less defined at small size | Favor defined edges at the shoulder |
The through-line is that cameras reward texture and punish extremes. Woven cloth with visible depth separates cleanly from skin and background, while anything flat, shiny or fiercely patterned collapses into a patch of color. That is the whole reason a camera-ready wardrobe is smaller than a wardrobe.
A video call is not a photograph and not a room
Three differences change what is worth spending on.
Video call fixes, in order
- Frame is head and shoulders only
- Face a window or lamp
- Put lamp behind camera, not overhead
- Plain wall as background
- Mute clicking accessories near microphone
The frame is head and shoulders, which means the wardrobe budget concentrates into a very small area. Two or three tops that work on camera will cover months. Nothing below the desk is doing any work at all.
Choose those tops in solids: navy, charcoal, mid-blue, burgundy or a soft white, cut as a spread-collar shirt, a fine-gauge crew-neck knit or a blouse with a modest V. In a head-and-shoulders crop a collar or a defined neckline is doing more work than any pattern, and it reads at webcam resolution when nothing finer does.
Lighting is worse and is yours to fix. Almost every complaint about how someone looks on video is a lighting problem attributed to clothing. Facing a window, or putting any lamp behind the camera rather than overhead or behind you, will improve the picture more than any garment.
The background is part of the outfit. It is roughly half the frame, it is looked at, and it is the cheapest thing to change. A plain wall is not boring, it is legible.
Sound is the fourth thing and gets forgotten: anything that clicks against a desk or a keyboard is amplified by a microphone in a way it never is in a room. A watch or a bracelet that taps the desk is heard on every call, so take it off before the meeting starts.
Paying someone, and what you should agree first
If you do pay, the price usually buys light, a lens and someone who can make you relax, in roughly that order of value. What is worth agreeing in writing before the session is not the price but the usage: which files you receive, at what resolution, and what you are permitted to do with them.
Agree in writing before the shoot
- Which files you receive
- At what resolution
- Company profile use
- Personal site use
- Press use
- Head covering accommodation route
Photographs are copyrighted works, so the subject and photographer must agree on terms rather than assume them. The Copyright Office publishes Circular 42 on the copyright registration of photographs, a good place to learn how photographs are treated before you agree terms.
Settle in advance whether you can use the image for a company profile, a personal site, and press use. Retrofitting permission later is awkward and sometimes expensive.
Put the terms in the email before the session: the file format (a JPEG plus the original file), the pixel size (big enough for the tightest circle any profile uses), and a written license naming every place you may use the picture — company profile, personal site, press — and for how long. If the photographer wants it in their own portfolio, that is a separate permission in the same document, along with a release for anyone else in the frame.
If an employer's photo requirements conflict with a head covering worn for religious practice, the employee may request an accommodation under Title VII of the Civil Rights Act of 1964.
The Equal Employment Opportunity Commission (EEOC) explains its position on religious dress and grooming at work.
How often to redo it
When you no longer look like it. That is the only test that matters, and the honest interval varies from two years to ten depending on how much you have changed. An out-of-date headshot is a small credibility cost paid every time someone meets you after seeing it.
When to redo the headshot
- Every 2 yearsIf you have changed a lot
- Up to 10 yearsIf you have changed little
- Same sessionKeep a second usable frame
Keep the old files. A second usable frame from the same session covers a platform that wants a different crop, and storing it costs nothing.
The wider picture of presenting yourself is in headshots and presentation. How the clothing in the frame fits the rest of a working wardrobe is covered in women's professional wear and men's professional wear.
Common questions
Do I need a professional photographer?
No, but you need someone else holding the camera. A photograph you took of yourself reads as one, and the difference is in the angle and the distance rather than in the equipment.
Should the headshot match how I actually dress at work?
Yes. A photograph that is a level more formal than the person people meet creates a small mismatch that is worth avoiding. Photograph yourself as you turn up, at your best.
Is a plain background always right?
It is always safe, and it survives cropping. A background with content can work when it says something true about the work, but it competes with your face at small size, which is where the image will spend most of its life.